Shabby Miss Jenn
Showing posts with label gifts. Show all posts

Friday, January 18, 2013

Christmas 2012 Awesome Stuff I Made!


 One of my most favorite parts of the holiday season is the opportunities of creating stuff...baking, gifts, ornaments, decor...all sort of fun stuff!


First up...my tree.  Because I have kids and kids come with stuff...I had to trade in my big fat tree for one o those tall skinny ones.  I wasn't sure how I was going to decorate it without it looking VERY clustered.  I have waaay too many ornaments.  Well I finally decided to take inspiration from my woodsy looking star tree topper.  That next week my family and I travel to eastern Iowa for Thanksgiving.  The best thing about travel to the tiny town of Tipton, IA is the AWESOME cute little shops they have lining their main street.  So the day after Thanksgiving...when everyone was watching the big game...I sneaked away to go to the "grocery store".  I am pretty sure my husband knew better.  I hit up Daisy's On The Square.  It was an amazing 30 minutes just wondering around and taking it all in.  I ended up leaving with this really petite grapevine garland....I was REALLY hoping I could make it work on my tree back at home.  I also picked up the adorable grapevine cone tree you can see on the table in one of the pictures below.


The grapevine worked great!  I was so pleased with how it looked on the tree once I got it home!  I continued the woodsy look by tucking in some long pine cones that I had collected in winters past. I also found some cute red berry floral picks and stuck those in all over.

I also took inspiration from this burlap tree skirt tutorial over at Done Over Decor.  It came it out really cute and was pretty easy.
 

My next holiday craft was an advent calendar.  There are so so so many options of DIY advent calendars it was hard choosing what I wanted.  I pursued one of the local craft stores here in town for further inspiration.

I found these tiny vinyl numbers from 1 to 30 and my mind just took it from there....I knew I wanted those little favor tins you see with the wedding supplies, but I couldn't find those until I stopped at Hobby Lobby later.  I grabbed a piece of fiber board, a small stack of Christmas paper, and those vinyl numbers and headed out of the store.
I got the tins, spray painted the board, and used my Fiskars scalloped circle punch and cut out all different circles from the Christmas paper stack.  I put the number on the lids of the tins.  Once the board was dry I used epoxy to glue the bottoms of the tins to the board.  and then used simple craft glue to glue the paper inside each tin.  I drilled two holes at the top of the board and strung some ribbon through it.

This year I had Rolos and pretzels in the tins so that my 3 year old had something to each day she checked.  In later years I may get adventurous and make out those cute little activities slips for each day.  There are so many neat possibilities for this!

Baking, Baking, and MORE BAKING!!!!  I loved these cute little ginger bread trees decorated in white royal icing...they were AMAZING with my morning coffee!
 And because my three year old Hayden has been very obsessed with gingerbread men this year...we made several of them too!


 My three year old and I made these Christmas Cheer shakers for all her aunts and grandmas.  I picked up salt & pepper shakers at the Dollar tree (2/$1).  And all sorts of random little Christmas tid-bits at Hobby Lobby and she had a blast filling them!  Again I am not sure where the credit goes for these, my husband's grandmother had recieved one as a gift several years ago and I stole the idea!


Here are the finished shakers...I printed the tags and spiced them up with a piece of burlap and a jingle bell...and attached wire for hanging.  The tag reads:  
"At this time when we
feel most blessed,
Holidays can make us
feel real stressed.
When the "bah humbugs"
start coming near,
Just shake yourself up
some Christmas cheer!! "
(Sprinkle on others as needed)


 And as gifts for all my Wino friends I made these adorable Cork Reindeer....There are so many versions of these online I am not sure exactly where I saw it first.  They came out super cute!

Thursday, February 16, 2012

Awesome Dinosaur Tails!


There are a couple of dino-lovin' two year old boys I know that just had a birthday.  Their party is this weekend...so I HAD to find something Awesomely-Dino to make for them!  I searched Pinterest with the search term "Dinosaur" and came across this awesome tutorial to make these awesomely cute and simple dinosaur tails!  They are exactly what I was looking for!


Jessica over at Running With Scissors did a fabulous job walking me through this project!  If you have even the most basic sewing skills you too could make one of these for a Dino-loving little one in your life!

It only took me about two hours to do both of them...If you are a local mama and you want one for your little guy or girl...get in touch with me...we could totally work something out!


I happen to have two toddlers at my house today that were MORE than willing to show off how fun these things are!


 Thanks for looking!

Wednesday, February 15, 2012

Awesome MilkCaps Alpha Matching!

Some of you have eagerly been waiting to see why on earth I was having you save milk caps... Over the weekend we FINALLY hit our goal of 26 milk caps (but I still would like MANY more)!  So last night I got to work on the game board.
Here is the final result:


 It is pretty self explanatory...but I will explain it anyway...:)  It is a matching game for the kids to learn to recognize the letters of the alphabet (capital to capital, lower case to lower case, then when they are ready lower case to upper case). 


Step One:  Ask your family and friends to start collecting milk caps for you.  The ones without a label on them work best.  The labeled ones for me were a huge pain to get them clean.  I did not even end up using them.  If that is all your family uses then you could always put your own label over top of it and it would work fine.  I used all colors with not particular pattern...you could do vowels one color and consonants in another.
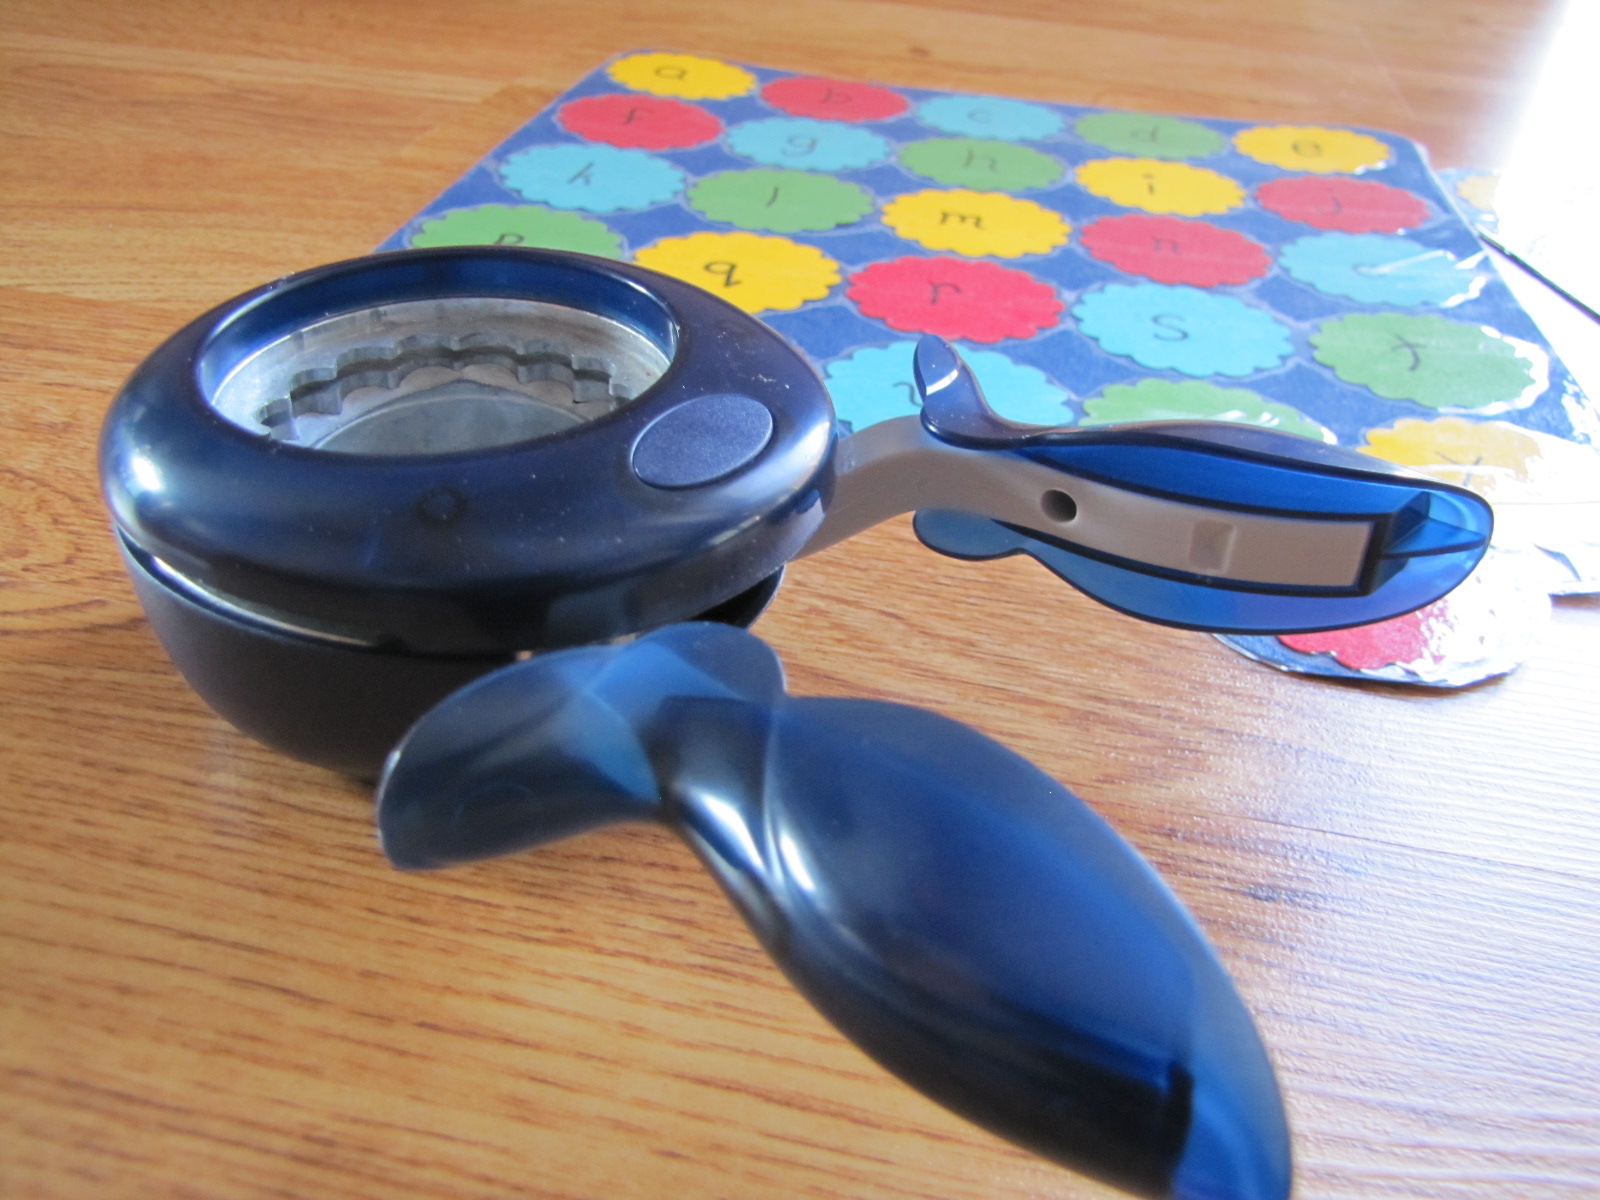
 Step Two: Cut circles about 2in in diameter.  I used my Cricut at first, but then decided this Fiskers paper punch was cuter.  Again my colors have no reasoning behind them...My daughter is only 2.5 so vowels are not a priority right now.  I used a Sharpie to write the letters on each little circle and each milk cap. 


 Step Three: I used double sided tape to stick each circle in place on the 12 x12 piece of cardstock.  I ended up cutting it down a bit after they were all placed.  You could also space them out a bit more in order to allow room for the "game board"  to fold in half for storage.  I forgot I was going to do that so mine does not fold in half.


Step Four: I "Laminated" the front and back with packing tape.  I call it the poor man's lamination...it works just fine for me!
 I made two "game boards".  One uppercase and one lowercase...upon reflection I am sure I could have put the lowercase letters on the back of the uppercase game board (less supplies, less to store, less to lose).


I love how it turned out!  Thank you to all of you who saved milk caps for me...keep saving them as I still need to make the lower case set of milk caps.  And I want to make a whole other set of this for a friend!


Wednesday, January 25, 2012

Felt Memory Game...An AWESOME Toddler Gift

I ran across this "Pin" (above) in my first few weeks on Pinterest ....it seems most my projects are coming from there these days!  It cam from the blog Greenqueenmckeen.blogspot.com.  This blog has since been removed...or so the Blogger error message reads.  

Anyway I thought these would be a great stocking stuffer for my 2.5 year old Hayden.  She loves sorting colors, and shapes, and finding the matches.  And she or her 9 month old brother could chew on them, if they so desired) and they would not be destroyed like your typical card game.


I ended up making 12 matching card(24 all together).  I hand sewed the shapes on with embroidery thread.  If anything can be nicely hand sewn, I do it...it is an easy to do activity that I can do while my children are playing near by.  I can stop and start with out an issue, and there is little to no mess.  Then I machine sewed the patterned backer cards to the shape cards with a zigzag stitch.

The photo below shows the cards backs...ignore the knot of ribbon...it was a design fail in the prototype...explained below.


I had originally made a loop out of ribbon ton each card for easy storage, but those quite quickly fell out...so I took all the ribbon loops off and now I store them in a little mesh bag I found at the Dollar Tree...works pretty well.  I have since seen other felt card games on Pinterest that have nice grommets in the corners for storage.

There are so many ways of personalizing these for your own little ones!  And there are so many learning concepts covered while playing with them!  And they are VERY inexpensive to make!  All in All an AWESOME Toddler gift!